Table of Contents
Introduction
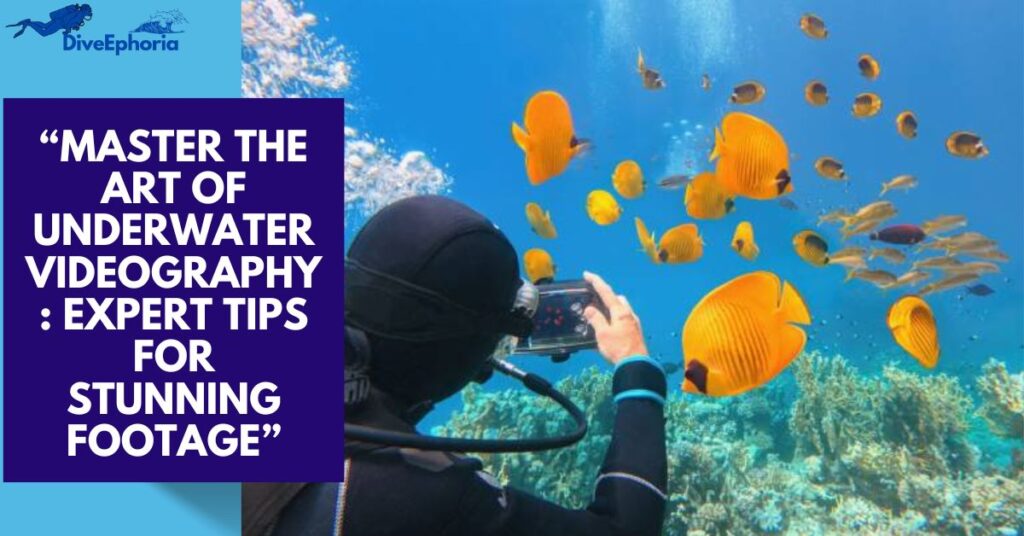
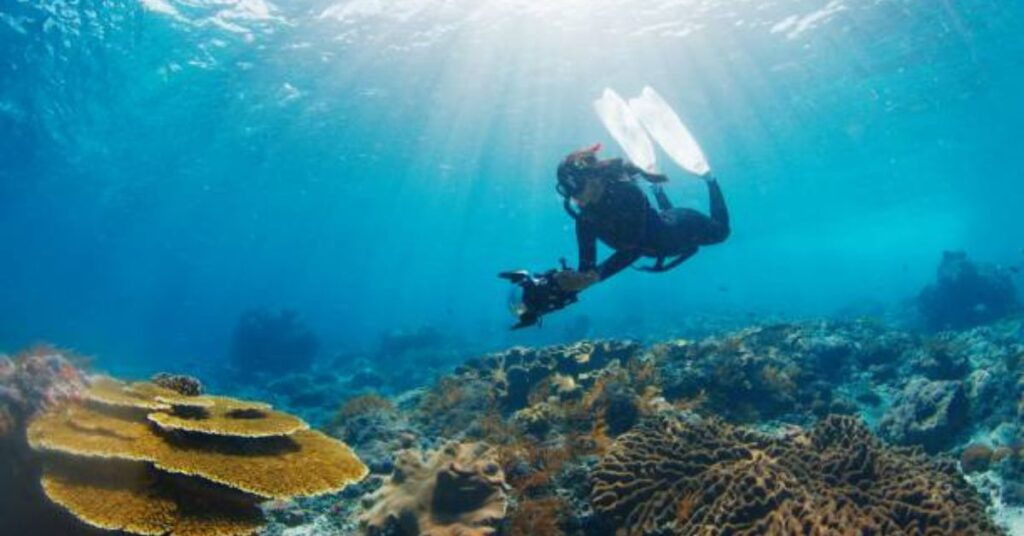
Imagine capturing the vibrant colors of a coral reef or the graceful movement of a manta ray gliding through the water. Underwater videography opens a window to a hidden world, but achieving stunning footage requires skill, preparation, and the right tools. Whether you’re a beginner or looking to refine your craft, this guide will cover everything you need to know about underwater videography tips to elevate your underwater filming game in 2025.
In this blog, we’ll dive into essential underwater videography techniques, including camera settings, lighting, and editing tips. Whether you’re using a GoPro or professional-grade equipment, these insights will ensure you create visually compelling underwater videos. Let’s get started!
Understanding the Basics of Underwater Videography
1. Preparing Your Equipment
Choosing the Right Camera:
Your equipment will significantly impact the quality of your underwater footage. Here are a few popular options:
- GoPro Hero 12: Compact and perfect for beginner underwater videography guides.
- Sony RX100 VII: Known for its excellent low-light performance.
- Canon EOS R5: A professional-grade choice with 8K video capabilities.
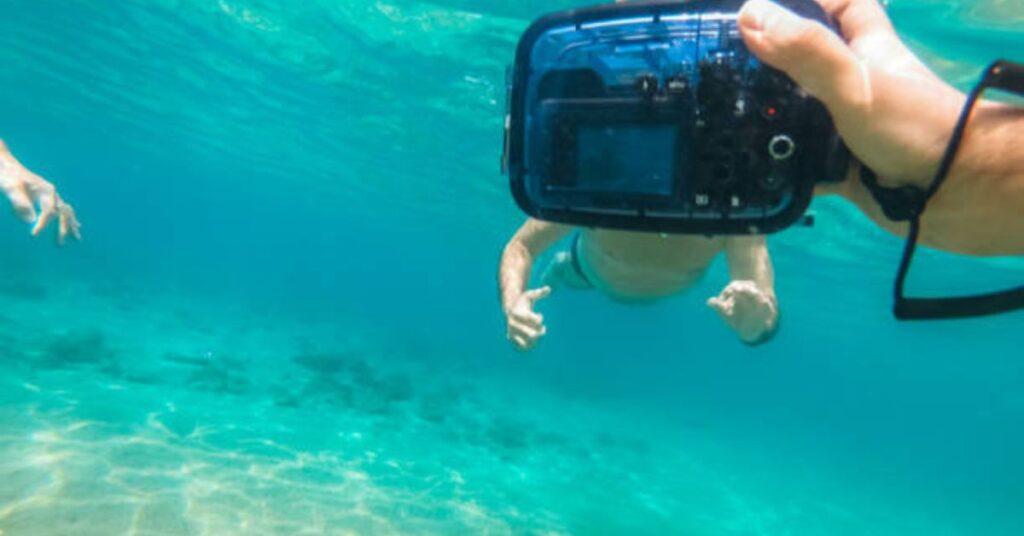
Waterproof Housing:
Invest in reliable waterproof housing to protect your camera. Double-check depth ratings and seals to avoid leaks.
Maintenance Tips:
- Rinse your equipment with fresh water after each dive.
- Store it in a cool, dry place.
- Regularly check O-rings for wear and tear.
Essential Underwater Camera Settings
2. Adjusting Your Camera for Underwater Conditions
White Balance:
Water absorbs light, particularly red and yellow wavelengths, creating a blue or green cast in your footage. Use manual white balance to correct colors. Adjust settings frequently as you change depths.
Frame Rate and Resolution:
- Use 4K resolution for crisp, high-quality footage.
- Opt for 60 fps for smooth motion capture, especially for filming underwater wildlife.
Focus Settings:
Switch to manual focus to avoid hunting issues in low visibility. Pre-focus on a subject before diving deeper.
ISO:
Keep ISO low to minimize noise. A range of 100-400 is ideal for underwater conditions.
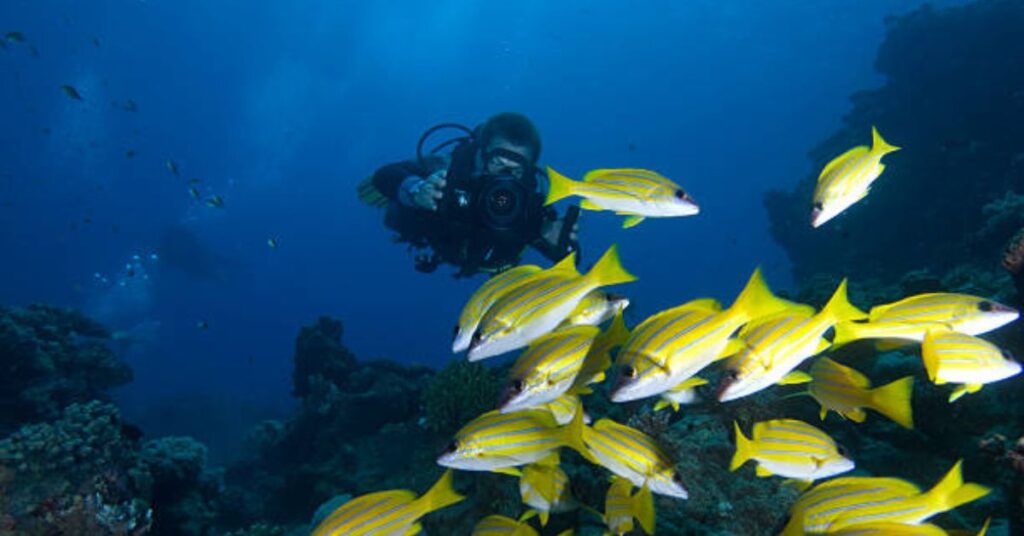
Mastering Underwater Lighting Techniques
3. Importance of Lighting
Natural Lighting:
Sunlight diminishes as you descend. The best time for natural light filming is mid-morning to early afternoon. Stay within 10-15 meters for optimal results.
Artificial Lighting:
- Video Lights: Use LED lights with a wide beam for even illumination.
- Color Filters: Attach red filters to compensate for color loss at greater depths.
Pro Tip:
Position lights at 45-degree angles to reduce backscatter—the reflection of particles in the water.
Capturing Stable Shots Underwater
4. Tips for Steady Shots
Achieving stability underwater is challenging due to currents and buoyancy. Here’s how to improve:
- Use a tray and handle system to stabilize your camera.
- Practice controlled breathing to minimize movement.
- Use weights to maintain neutral buoyancy.
Composition and Framing
5. Creating Engaging Shots
Rule of Thirds:
Divide your frame into thirds and place your subject along these lines for balanced composition.
Leading Lines:
Utilize natural elements like coral or rocks to guide the viewer’s eye toward the subject.
Close-Ups:
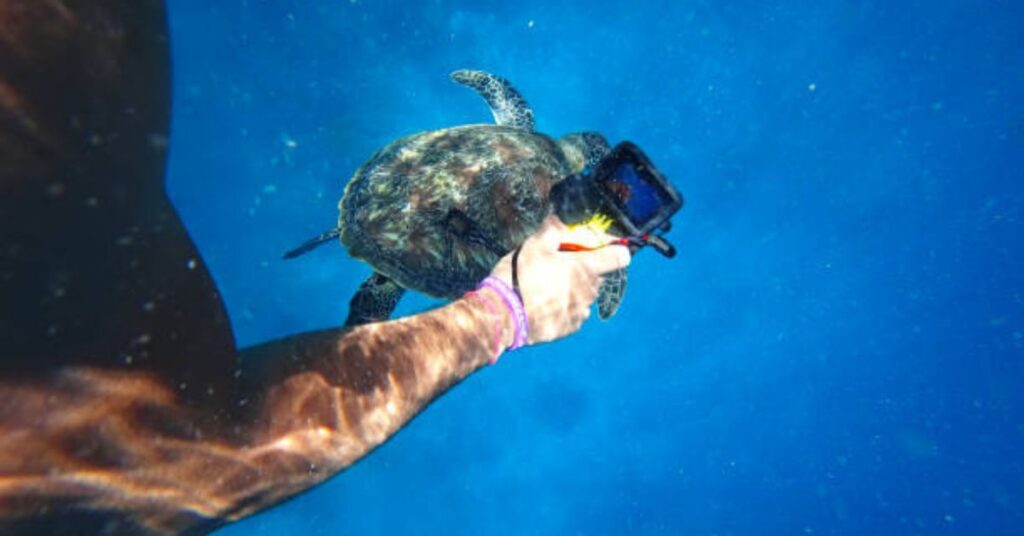
Get closer to your subject for more detail and to reduce the amount of water between the camera and the subject.
Video Editing for Underwater Footage
6. Post-Processing Tips
Editing can transform raw footage into cinematic masterpieces. Follow these steps:
Color Correction:
- Adjust white balance and saturation to restore natural colors.
- Use software like Adobe Premiere Pro or DaVinci Resolve for advanced corrections.
Stabilization:
If your shots are shaky, use editing tools to stabilize them.
Adding Music:
Choose ambient or instrumental music that complements the underwater vibe.
Common Challenges and Solutions
7. Troubleshooting Underwater Videography Issues
Low Visibility:
Stick to shallow waters and use artificial lights to enhance clarity.
Backscatter:
Position lights properly and avoid filming in areas with heavy particle concentration.
Battery Life:
Bring spare batteries and turn off unnecessary features to extend battery life.
Conclusion
Underwater videography is an exciting way to document the beauty beneath the waves. By mastering essential techniques like camera settings, lighting, and composition, you can create stunning underwater videos. Don’t forget to edit your footage for a polished final product.
FAQs:
What are the best cameras for beginner underwater videography?
The GoPro Hero 12 and Olympus Tough TG-6 are excellent options for beginners.
How do I prevent my footage from looking blue or green?
Use manual white balance and red filters to restore natural colors.
What’s the ideal depth for filming underwater?
Stick to 10-15 meters for optimal light and visibility.
Can I use a smartphone for underwater videography?
Yes, with proper waterproof housing, but results may vary compared to dedicated cameras.
How do I edit underwater videos?
Use editing software like Adobe Premiere Pro for color correction, stabilization, and other enhancements.